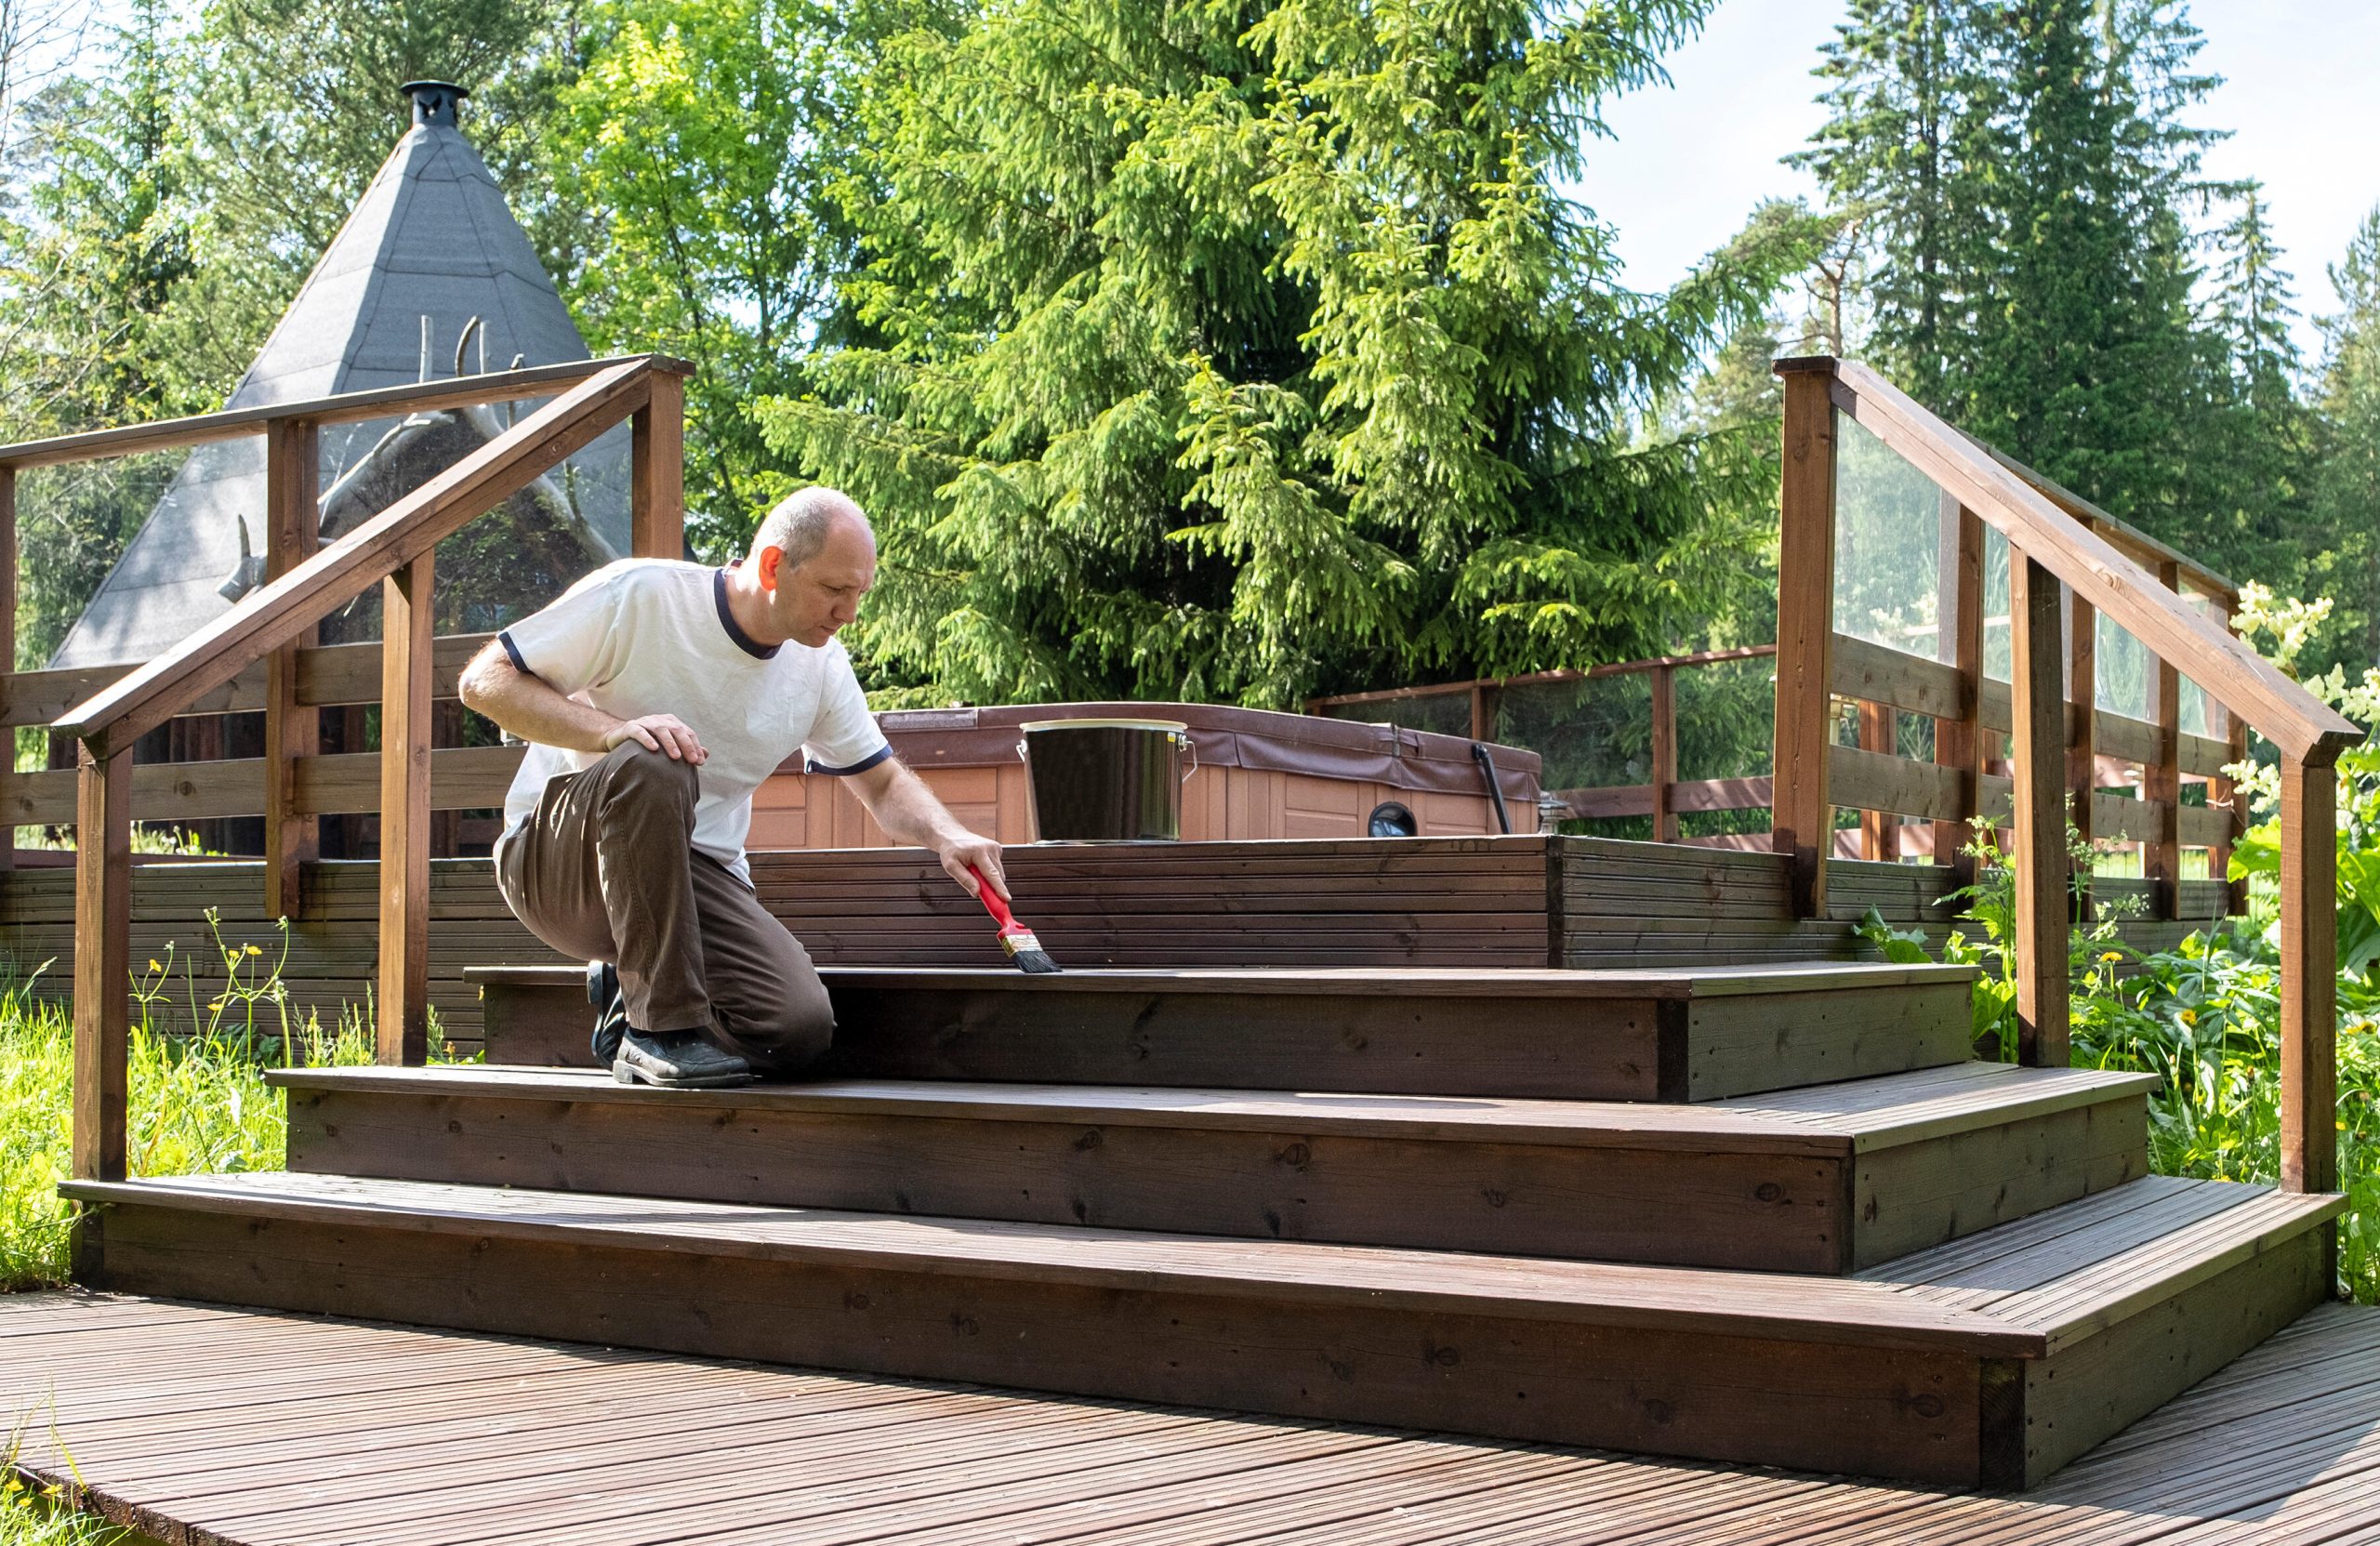
Owning or renting a home comes with plenty of responsibilities—and plenty of unexpected costs. But before you call a handyman for every squeaky door or leaky faucet, consider this: many common home repairs are easier than you think. With a few basic tools and a little confidence, you can take care of small issues yourself, saving time, money, and the hassle of waiting for a pro. Learn which DIY repairs are totally doable, and how a bit of effort now can prevent bigger expenses down the line.
Why DIY Repairs Make Sense
Doing minor home repairs yourself has big advantages:
- Save money on service calls, hourly rates, and parts markups
- Learn useful skills that make you more self-reliant
- Fix issues faster, without waiting for a contractor
- Prevent bigger problems by addressing small issues early
- Build confidence for tackling larger projects later
You don’t have to be super handy—just willing to learn and follow directions.
Basic Tools Every DIYer Should Have
You don’t need a full workshop. A few reliable tools will cover most everyday fixes:
- Screwdriver set (flathead and Phillips)
- Hammer
- Adjustable wrench
- Tape measure
- Utility knife
- Plunger
- Pliers
- Level
- Allen wrenches
- Cordless drill (a bonus, but not required)
Invest in quality over quantity—you’ll use these tools again and again.
DIY Repairs That Can Save You Hundreds
- Unclogging Drains
Hair and debris buildup in sinks or tubs is common—and annoying. Skip the pricey plumber and try this instead:
- Use a plunger first (yes, it works on sinks too)
- Remove the drain stopper and pull out the clog with a tool or bent wire hanger
- Pour baking soda and vinegar down the drain, followed by hot water
Cost savings: $75–$200 per visit
- Fixing a Running Toilet
If your toilet constantly runs, it’s often due to a worn-out flapper or faulty float. Replacement parts cost less than $20 and installation takes 15–30 minutes.
Cost savings: $100+ in water bills and plumber fees
- Replacing a Light Switch or Outlet Cover
If a switch or outlet isn’t working, it might just need tightening or replacing. Turn off the breaker, remove the cover, unscrew the old unit, and connect the wires to a new one (follow instructions closely or look up a tutorial).
Cost savings: $75–$150 per switch/outlet
- Patching Small Holes in Walls
Moving pictures, shelves, or furniture can leave holes in drywall. Here’s how to fix them:
- Fill holes with spackle
- Let it dry, then sand smooth
- Touch up with paint
A small patch kit costs under $10—and the fix is nearly invisible.
- Quieting Squeaky Doors or Hinges
A few drops of WD-40 or household oil can silence a squeaky door instantly. No need for new hinges or professional help.
Cost savings: $50+ for a visit you didn’t need
- Recaulking a Bathtub or Sink
Old caulk can crack and cause leaks or mold. Remove it with a utility knife, clean the area, and apply a fresh bead of waterproof caulk.
Cost savings: $100–$300 depending on labor
- Tightening Loose Cabinet Handles or Knobs
Over time, cabinet hardware gets loose. Tighten screws with a basic screwdriver or replace them if worn.
Cost savings: $50+ per hour for a handyman visit
- Cleaning or Replacing HVAC Filters
Dirty filters reduce your system’s efficiency and increase your energy bill. Swap them out every 1–3 months (your system manual will tell you how).
Cost savings: $20–$50/month in energy bills
- Fixing a Dripping Faucet
Most drips are caused by a worn-out washer or cartridge—easy to replace with the right part. Shut off the water, disassemble the faucet, swap the piece, and reassemble.
Cost savings: $100–$300 in repairs and water waste
- Replacing a Showerhead
Want better water pressure or just a cleaner look? Unscrew the old one, wrap plumber’s tape around the pipe threads, and screw on a new showerhead.
Cost savings: $50–$150 in installation fees
DIY Repair Tips for Beginners
- Watch a video first: YouTube is packed with step-by-step tutorials for nearly every repair imaginable.
- Start small: Build your confidence with basic tasks before tackling anything complicated.
- Take your time: Rushing increases the chance of mistakes.
- Follow safety precautions: Always turn off power or water before working on electrical or plumbing.
- Know when to call a pro: If something involves gas, electrical wiring beyond switches/outlets, or structural work—bring in an expert.
When NOT to DIY
While many fixes are simple, know your limits. Skip the DIY route and hire help if:
- There’s a risk to your safety
- You’re dealing with mold, asbestos, or pests
- A project involves roofing or load-bearing walls
- You don’t have the tools or time
Trying to fix something beyond your skill level could lead to more expensive repairs later.
Final Thoughts
You don’t need to be a contractor to keep your home in good shape. With a few tools, some patience, and a willingness to learn, you can handle plenty of everyday repairs yourself—and save serious money in the process. The more you practice, the more confident you’ll feel. Start with small wins, grow your skills, and enjoy the satisfaction (and savings) of fixing it yourself.